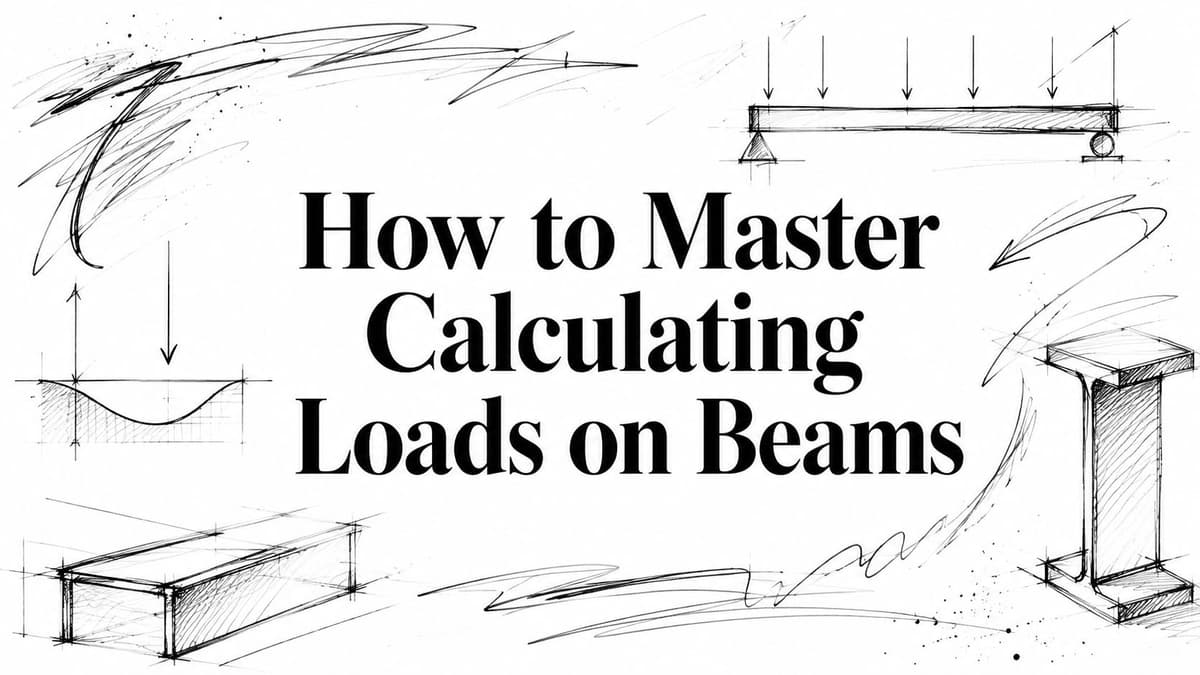
You're standing in a basement, the homeowner wants the wall gone, and everyone keeps asking the same question, “Can this beam take the load?” That's the core job of calculating loads on beams. Before anyone sizes steel, checks a footing, or prices lumber, you have to know exactly what the beam is carrying, where that load comes from, and how it travels through the framing.
Most bad beam decisions happen early. Someone guesses the supported area, skips the load path, or treats a floor beam like it only sees a neat little point load in the middle. In practice, a beam usually starts by collecting area loads from a slab, roof, or deck, then those loads get turned into line loads, and only then do you move on to reactions, moments, shear, and deflection. If the first step is wrong, every number after it looks polished and still fails.
A structural engineer also has to think about history here. Beam theory didn't appear all at once. The modern method for beam load calculation developed over roughly 400 years, from Leonardo da Vinci's beam sketches in 1493 to Navier's final formulation in 1826 (historical development of the beam bending equation). That long arc matters because today's shortcuts only work when they're backed by the right assumptions.
For a homeowner planning a remodel, a carpenter checking a header, or a junior designer reading a floor plan, the essential skill is the same: identify the supported area, convert it correctly, add point loads, and then verify the beam can carry the result. If you want a useful adjacent example of how loads transfer into a supporting system, a good starting point is concrete foundation for homes, because the beam rarely works alone.
Why Calculating Loads on Beams Is the First Real Decision
A typical remodel starts with a simple sentence. “We want to remove this wall and install a flush beam.” The moment that wall disappears, the beam inherits whatever that wall used to support, plus the load from the framing that lands on it, plus any point loads from posts or openings above it. If you guess too low, the beam is undersized. If you guess too high, you buy more material, deeper pockets, or a bigger footing than the job needs.
The first useful number isn't beam size. It's the load path. You identify the supported area, decide which pieces of framing feed the beam, convert area load to line load, then add any concentrated loads sitting on top of that line. Only after that do reactions, moment, shear, and deflection make sense.
Practical rule: a beam doesn't carry “the room.” It carries the load that actually reaches it through joists, rafters, or secondary members.
A floor beam under a living room might support part of a bedroom floor, a hallway, or a staircase opening. A roof beam might support roof sheathing, rafters, a mechanical unit, or snow drift accumulation in a localized zone. The shape of the answer changes with the framing, not just with the span.
The rest of the calculation follows a dependable order. First, define the supported area. Then convert area loads into line loads. Add point loads from posts, walls, or equipment. After that, check the reactions, shear diagram, bending moment, and deflection. That sequence keeps a junior designer from skipping straight to beam size before the load is even real.
A good calculator can help once the inputs are clean. A bad one makes a wrong assumption look precise. If you understand the load path, you'll know when to trust the number and when to stop and redraw the framing.
Identifying Dead, Live, Roof, Snow, and Wind Loads

Dead load comes from the structure itself
Dead load is the weight that stays in place. It includes framing, sheathing, finishes, mechanical runs, and anything else permanently attached to the structure. On a beam, dead load usually reaches the member as a line load from joists or rafters, but it starts as weight spread over an area. A good check for dead load is simple, if the beam disappeared, what material would still be there and still weigh something?
That is the part you carry all the time. It does not go away during normal use, so it forms the baseline for every beam check.
For material weights, it helps to sanity-check the numbers against something concrete. A tool like the concrete weight calculator is useful when you are estimating slab or topping weights that feed into dead load.
Live load changes with use
Live load is the movable part of the building load, people, furniture, storage, and anything that can shift position over time. A beam under a living room is not the same problem as a beam under a storage room, even when the span is identical. The beam does not care what the room is called, it cares what occupancy puts on it.
Residential, office, and light storage spaces are treated differently in practice, so the designer has to confirm the load category for the project. Future use matters too. A room that starts as a bedroom can later become a home office or a storage area, and that changes the demand you should be checking.
Roof, snow, and wind are not interchangeable
Roof loads come from the roof assembly and whatever sits on it. Snow is a separate vertical load from accumulated snow on the roof surface. Wind acts differently, because it pushes and pulls on the structure laterally, or it lifts roof surfaces depending on geometry.
That distinction matters because wind was not always treated explicitly. After the 1879 Tay Bridge collapse in Scotland, wind load had to be included as a formal design case in regulations starting in 1880 (Tay Bridge collapse and wind load regulations). That history is why modern beam design still asks whether wind belongs in the load combination at all.
Wind is not just “another roof load.” It belongs in the combination logic only where the code and structure actually require it.
For units, keep the distinction clear. Area loads are usually stated in psf, line loads in plf, and concentrated loads in pounds or kips. If you blur those units together, the math can look tidy and still be wrong. When you are moving between framing plans, slab dimensions, and roof footprints, keep the area input consistent before you convert it to a line load.
Finding Tributary Width and Tributary Area
A beam does not collect load from every square foot in the building. It collects load from the part of the floor or roof that is assigned to it by the framing layout. That assigned region is the tributary area, and the distance used to define it is the tributary width. The usual rule is half the distance to the next support on each side.
For an interior beam, the tributary width runs halfway to the adjacent beams or walls on both sides. For an edge beam, one side ends at the outside support line, so the tributary width is only half on the interior side. For a corner beam, the tributary area shrinks again because the supported region is bounded in two directions.
That geometry is where textbook sketches start to meet the floor plan. A 16 ft by 20 ft room framed with joists to a center beam does not hand the beam the full room area just because the room outline looks rectangular. The beam receives the portion of that room that the joists deliver to it. That is the load path, and it is what you need to trace before any reaction or moment is calculated.
Joist spacing changes how cleanly that load is gathered. A wide opening can cut the tributary area in two. A stairwell, a bathtub, or another localized heavy item can leave you with an irregular shape instead of a neat rectangle. The geometry still works, but you have to sketch the actual flow of load instead of trusting the plan view alone.
Practical rule: draw the supports first, then draw half distances to the next supports. Whatever area falls inside that envelope belongs to the beam.
A header supporting joists above is another common trap. Its tributary width is not the full floor width above it unless the framing delivers that full width to the header. That is why quick calculators often fail on real framing plans. They skip the load path and go straight to the answer.
If you are checking the geometry on a plan or cleaning up sketch dimensions before you convert them, a basic tributary area converter can help keep the units aligned before you move on to line loads.
Converting Area Loads Into Line Loads and Point Loads
Once the tributary width is known, the arithmetic gets short. A floor area load in psf becomes a beam line load in plf by multiplying the area load by the tributary width in feet. If the tributary width is 8 ft and the floor load is 50 psf, the beam sees 400 plf before you add anything else. That's the number you place on the beam diagram as a uniform load.
Joist spacing matters because it controls how load is gathered and delivered. Closely spaced framing often gives a smoother load transfer, while wide spacing can make the beam's tributary region easier to misread if you're looking only at the architectural plan. The beam still sees the same basic conversion, area to line, but the framing plan tells you which area belongs to it.
Point loads sit on top of that uniform load. A post above the beam, a wall landing on the beam, or a mechanical unit bearing at one location all create concentrated forces. Those loads don't replace the line load, they add to it. A beam with 400 plf and a post load at midspan needs both parts in the diagram.
That's the habit to build. Write the loading as uniform line load plus point loads, not as one vague combined number. If you do that, your statics work stays transparent and your mistakes become visible before the beam is ordered.
Metric users do the same thing with kN/m and kN. The unit system changes, but the structure of the calculation doesn't. The line load comes from area load times tributary width, and the point load stays a point load. Mixing them together too early obscures the demand.
Computing Reactions, Shear, Moment, and Deflection
A supported beam gives the cleanest statics check because the reactions follow directly from equilibrium. Start with the full load on the span, including the uniform load you already converted from slab or roof area load, then add any point loads that land on the beam. If the beam is supported at both ends and the loading is symmetric, the reactions split evenly. If a concentrated load sits off center, the support reactions shift to match that load position.
The load path still matters at this stage. A beam that looks straightforward on paper can change once a wall, post, or equipment load is added at one location. For a floor system with closely spaced framing, browse 2x12 joist installation only helps if the joist layout, span direction, and tributary width match the beam you are checking. If they do not, the statics will be clean but the input will be wrong.
Shear and moment describe different parts of the same problem. The shear diagram shows how internal vertical force changes along the span, while the moment diagram shows where bending demand is highest. Under a uniform load on a simply supported beam, the shear changes linearly and the peak moment lands near midspan. That shape is why beam size is usually driven by bending first, then checked against shear.
A quick equilibrium check catches a lot of bad inputs. The sum of the support reactions should match the total applied load. If that does not happen, stop and fix the model before you size the member.
Deflection is a serviceability check, not a strength check. A beam can have enough bending capacity and still feel too springy under a floor, or leave cracks in finishes above it. Span, stiffness, support condition, and load type all affect deflection, so a beam has to work as a structural member and as part of the finished floor system.
Internal reference: when the hand calculation is done and you want a check against your assumptions, a beam calculator is useful if you enter the support condition, the distributed load in plf, any point loads and their locations, and the beam material. Use it for moment, shear, and deflection outputs, then compare the result against your own statics before you trust the numbers.
A simple consistency check still helps. For a uniformly loaded simply supported beam, the maximum moment should land near the familiar wL-squared over eight pattern. That is not a replacement for the full calculation, it is a check on whether the load input and support assumption make sense. If the output is far from that range, the problem is usually in the model, not the beam.
Deflection gets ignored too often. Long spans can pass strength checks and still fail the feel test, especially in residential floors where bounce is easy to notice. If the beam supports occupied space, serviceability deserves the same attention as bending stress.
Combining Loads the Way Building Codes Expect
Real beams are not designed for one neat worst case. They're designed for load combinations, because some loads happen together and others don't. Dead load is almost always present, but live load, roof load, snow, and wind combine differently depending on the structure and the code rules that govern the project.
For a floor beam, dead plus live often governs the gravity case. For roof framing, dead, roof load, snow, and wind can all enter the design discussion, but not all at once in the same way. Wind is especially sensitive because it can reverse the direction of force or trigger uplift, and the code decides where it belongs in the set of combinations.
The point of the factor in front of each term is to reflect uncertainty and how likely the loads are to occur together at full intensity. A beam carrying permanent dead load and temporary live load is not the same as a beam facing snow, wind, and dead load under an unusual storm case. The combination rules separate those situations so the design isn't either too weak or unnecessarily heavy.
I've seen junior designers make the same mistake repeatedly. They calculate a nice clean total load, then treat it like one single case. That shortcut can pass a calculator and still fail a real structure because the governing combination wasn't the one they used.
A free calculator only helps if the inputs match the governing case. On thecalcs, the useful input set for beam work is straightforward, span, support condition, distributed load in plf, point loads and their locations, material choice, and the result you need, whether that's moment for sizing, shear for connection design, or deflection for serviceability. If the calculator asks for a load and you've only got a tributary area, stop and convert first.
The same discipline keeps the output honest. Run three sanity checks every time. First, the reactions should equal the total applied load. Second, a uniform simply supported beam should give a moment pattern that looks like the familiar middle peak. Third, the deflection check should be interpreted against the service condition you're trying to protect, not a random number copied from a forum.
The most common failure mode is not bad math, it's bad inputs. A calculator can move fast and still be wrong if the tributary width, point load location, or support assumption was guessed. That's why the load combination step belongs before the beam size, not after it.
Common Mistakes and What to Do Next
A lot of beam problems come from the same handful of misses. One is forgetting partition or mechanical loads in dead load, which makes the beam look lighter than it really is. Another is underestimating future live load, especially when a room might change use later.
Skipping the beam's own self-weight is another common miss. So is treating a header like it gets the full tributary width of the floor when the joists don't deliver that much load to it. The last big one is ignoring deflection on long-span floors, where the beam can feel too soft even if it's strong enough on paper.
Here's the clean fix for each one.
- Include everything permanent: add framing, finishes, MEP items, and the beam's own weight to dead load.
- Think ahead about use: verify whether the room's likely future use changes the live load case.
- Draw the load path: a header only takes the framing that bears on it.
- Sketch the tributary area: don't guess the width from the room size alone.
- Check serviceability early: strength is not the whole story on a long floor beam.
A good next step is to test your own framing plan with a calculator after you've done the hand sketch. Enter the support condition, span, distributed load, and point loads, then compare the result to your reaction and moment checks. If the numbers disagree, trust the sketch enough to find the bad assumption before anything gets built.
If you want to keep working this way, use thecalcs as a quick way to verify beam inputs, check reactions, and compare moment and deflection outputs against your manual load path. It's the kind of tool that helps most when you already know how the load got there, and that's the habit worth building.